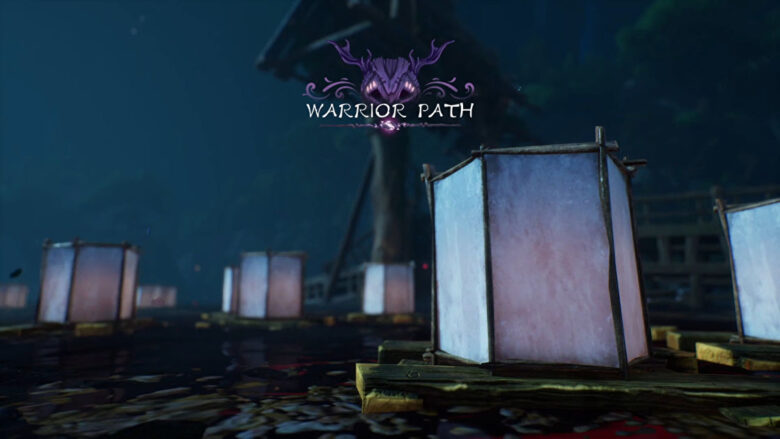
Kena: Bridge Of Spirits Warrior Path walkthrough
Trapped on the Warrior Route in Kena: Bridge Of Spirits? You’re not by itself. The sheer number of portals and zipping involving destinations during the Warrior Path has led several a player to distraction and irritation. At the very least, until eventually they uncovered this useful walkthrough, which guides you diligently by just about every part of the Toshi’s Love quest, by way of every single overcome place and puzzle, right until you access the end and defeat the Warrior himself.
Maintain scrolling to read through our prepared and our video clip walkthrough of the Warrior Path in Kena: Bridge Of Spirits.
On this web site:
Kena: Bridge Of Spirits Warrior Route walkthrough (Toshi’s Enjoy quest)
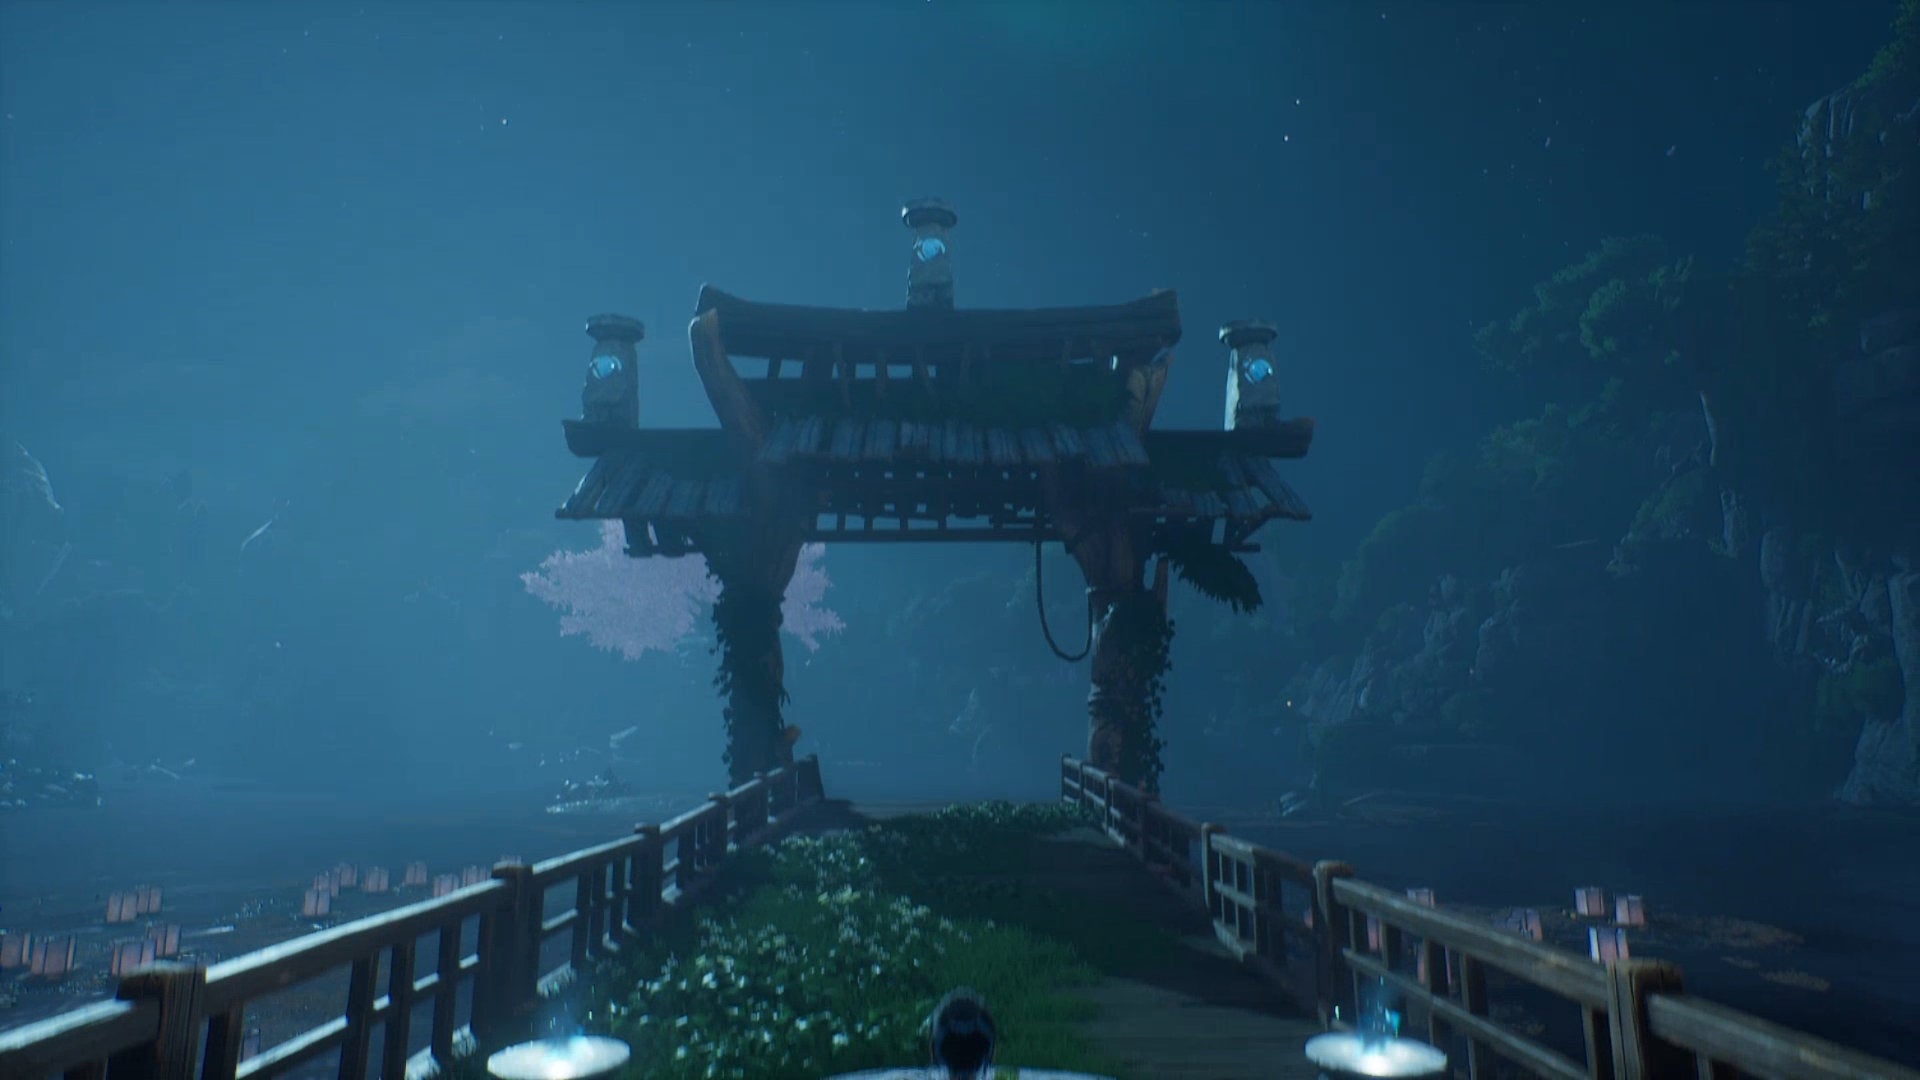
The Warrior Route in Kena: Bridge Of Spirits is a single of 3 “Route” spots which lie beyond the purple limitations in the Village. These barriers simply cannot be handed as a result of until eventually you attain the “3rd act” of the match and get the Spirit Dash capability.
The moment you get to this issue and you are completely ready to complete the Toshi’s Appreciate quest, head to the southwest barrier at the Docks, and Spirit Dash by it to enter the Warrior Path.
Below I am going to wander you as a result of almost everything you will have to do to arrive at the close of this route – but if you happen to be a lot more of a visual learner, you can check out the video previously mentioned which exhibits me completing every step of this quest on Master level.
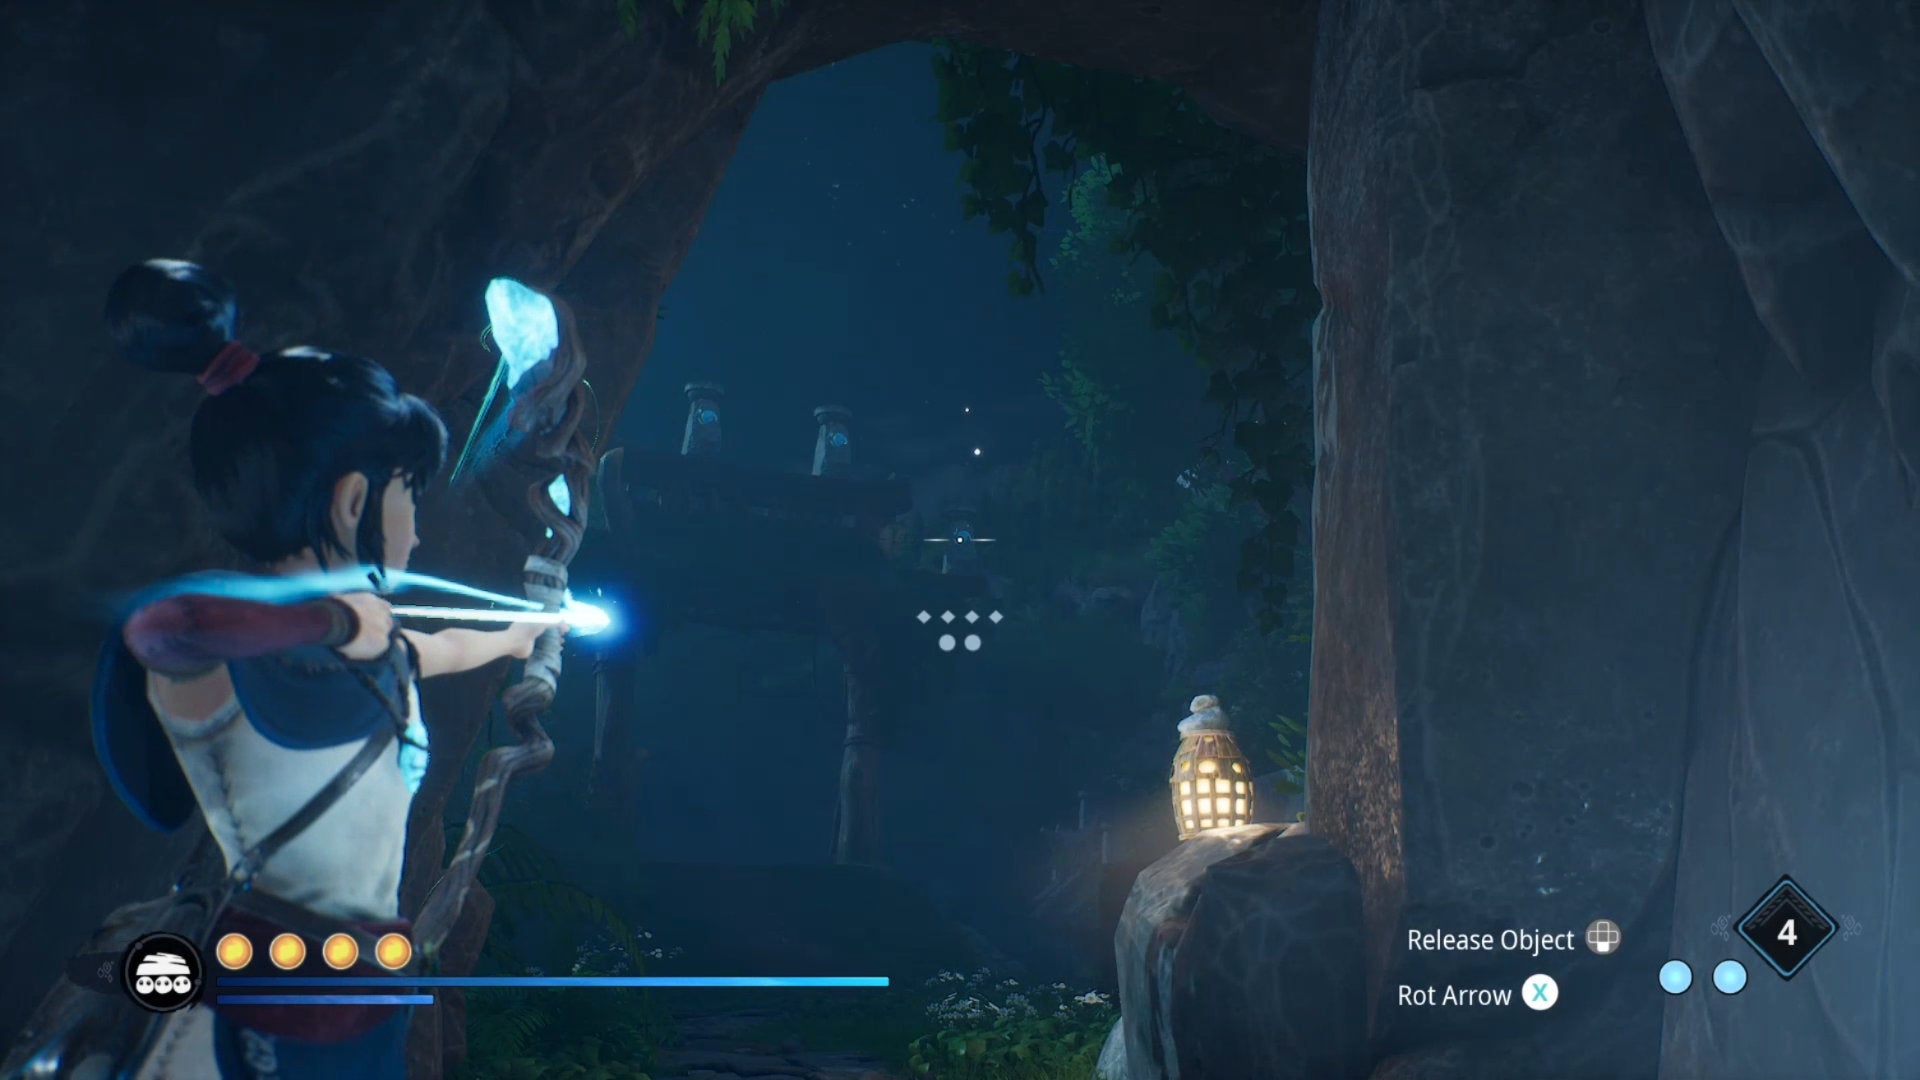
Shoot the three crystals in buy
Very first thing you are going to see on the Warrior Path is a huge archway with 3 crystal statues on best. You ought to shoot the crystals with your Spirit Bow in the correct buy to activate the portal. To uncover the get, glance intently at the stars in the sky just previously mentioned each individual statue. You may see some stars are brighter than the relaxation, and they’re going to reveal the adhering to order:
- Shoot the left crystal
- Shoot the appropriate crystal
- Shoot the middle crystal.
Bear this mechanic in brain, simply because it reappears in one more puzzle later on down the Warrior Path. For now, Spirit Dash as a result of the portal.

Reach the major portal
Adhere to the route round until eventually you attain a hole. Toss a Spirit Bomb down at the rocks down below and they’ll levitate to build a platform, in just the same way as when you gained the capacity in the Storehouse before on in the video game.
This next portion involves tons of portals – but first you’re addressed to a fast cutscene and then a barrage of enemies to defeat. Once they’re dead, the Deadzone Coronary heart throughout the way will open up. Concentrate on it with the Rot and shoot it to demolish it.
The intention now is to access the best of that little mountain in which the Deadzone Coronary heart was and head by the portal at the prime. To do this, head as a result of the portal following to you, then throw a Spirit Bomb at the cylindrical glowing part embedded into the mountain. Then immediately hop by means of the up coming portal, then do the identical with the following cylindrical section. Function your way around the mountain, throwing Spirit Bombs at each of people cylindrical sections.
Head via the ultimate portal and you can expect to locate you are back the place you started off. You will find a Blue Flower on the mountain around in which the Deadzone Coronary heart was. Grapple to it with your Bow. By Spirit Bombing individuals cylindrical sections you have now designed minimal floating platforms all the way about and up the mountain. Abide by these platforms immediately before they return to their pure cylindrical point out, and Dash as a result of the portal at the leading.
The 2nd crystal shooting puzzle
Head into the upcoming clearing and defeat the enemies there. Two of them are the huge spectral wraiths that are unable to be harmed till you Spirit Dash by means of them, so make confident you do that very first.
The moment the enemies are defeated, you will see there is a further archway, this time with four crystals that should be shot in the ideal buy. This time, nevertheless, it is really more challenging, since you have to shoot them in the right get and from the appropriate area for each individual one.
There are four stone buttons close by. Stand on each individual a person and seem at the crystals, and you are going to see that a constellation of stars has appeared higher than a particular crystal. This tells you not only which button to stand on in order to shoot which crystal, but also the get in which you will have to shoot them. This buy is:
- Stand on the button on the elevated system driving and to the suitable (when searching at the archway), and shoot the 1st crystal.
- Move the stone block masking the button in the compact cave. Stand on that button and shoot the 4th crystal.
- Transfer the stone block up from the wall to the appropriate of the archway so you can attain the climbing place. Stick to the route to the next button, then shoot the 2nd crystal.
- Stand on the furthest remaining button and shoot the 3rd crystal.
Doing this will activate the portal which you can now Sprint as a result of.
Change close to the moment you teleport, and climb up to the top system. There’s a good see in entrance of you, but switch close to initial and hop up on to that next system. Spirit Bomb the rocks underneath to produce a platform, then grapple about to the Blue Flower in front of you.
Stick to this route spherical, defeating the enemies that show up in advance of you, and Sprint by means of the portal at the end to achieve the concealed spot of the Warrior Path. In this article you may uncover a statue you can interact with which reveals one of Toshi’s Recollections as effectively as a hat and a Spirit Mail to collect. When you are performed, dash as a result of the portal at the end to return to the commencing of this segment.

Arrive at the bell and defeat the Warrior
Climb up when yet again right until you access the terrific perspective. To the correct is a slope down into nothing at all. Right before you go down it, toss a Spirit Bomb onto the rocks beneath to activate the platforms. Slide down the slope and soar onto the system. Then observe the path, Dashing throughout the gaps by means of the portals, right up until you achieve the bell place.
Run up to the bell location and tell the Rot to pull back and release the log which rings the bell. This will summon the Warrior, who you ought to defeat in purchase to declare Toshi’s relic and complete the Toshi’s Really like quest.
If you happen to be getting problems defeating the Warrior, be confident to check out out our Kena: Bridge Of Spirits boss fights guideline for in-depth ideas. Alternatively, you can examine out my video clip walkthrough down below, in which I defeat the Warrior on the toughest problems level in the game.
That is all there is to beating the Warrior Route and finishing Toshi’s Love quest in Kena: Bridge Of Spirits. If you happen to be just after more common guidance and hints on the activity, be absolutely sure to just take a appear at our Kena: Bridge Of Spirits guidelines and methods listing upcoming. Alternatively, if you want to make absolutely sure you haven’t missed anything along this route, check out our detailed Kena: Bridge Of Spirits map of collectibles.
Originally posted 2021-11-11 13:21:56.