How to install RAM | Rock Paper Shotgun

Installing RAM is both equally one of the least complicated actions to creating a Computer system and one of the most basic strategies to improve an existing gaming rig. In a bodily sense, anyway. Just like setting up an M.2 SSD, there are no electric power or info cables to stress about, and as very long as your RAM sticks suit the RAM slots on your motherboard, in the end you just need to drive them in. There is area for mistake, though, as a result why this article is heading to carry on beyond the introductory paragraph. See? RAM can be attention-grabbing.

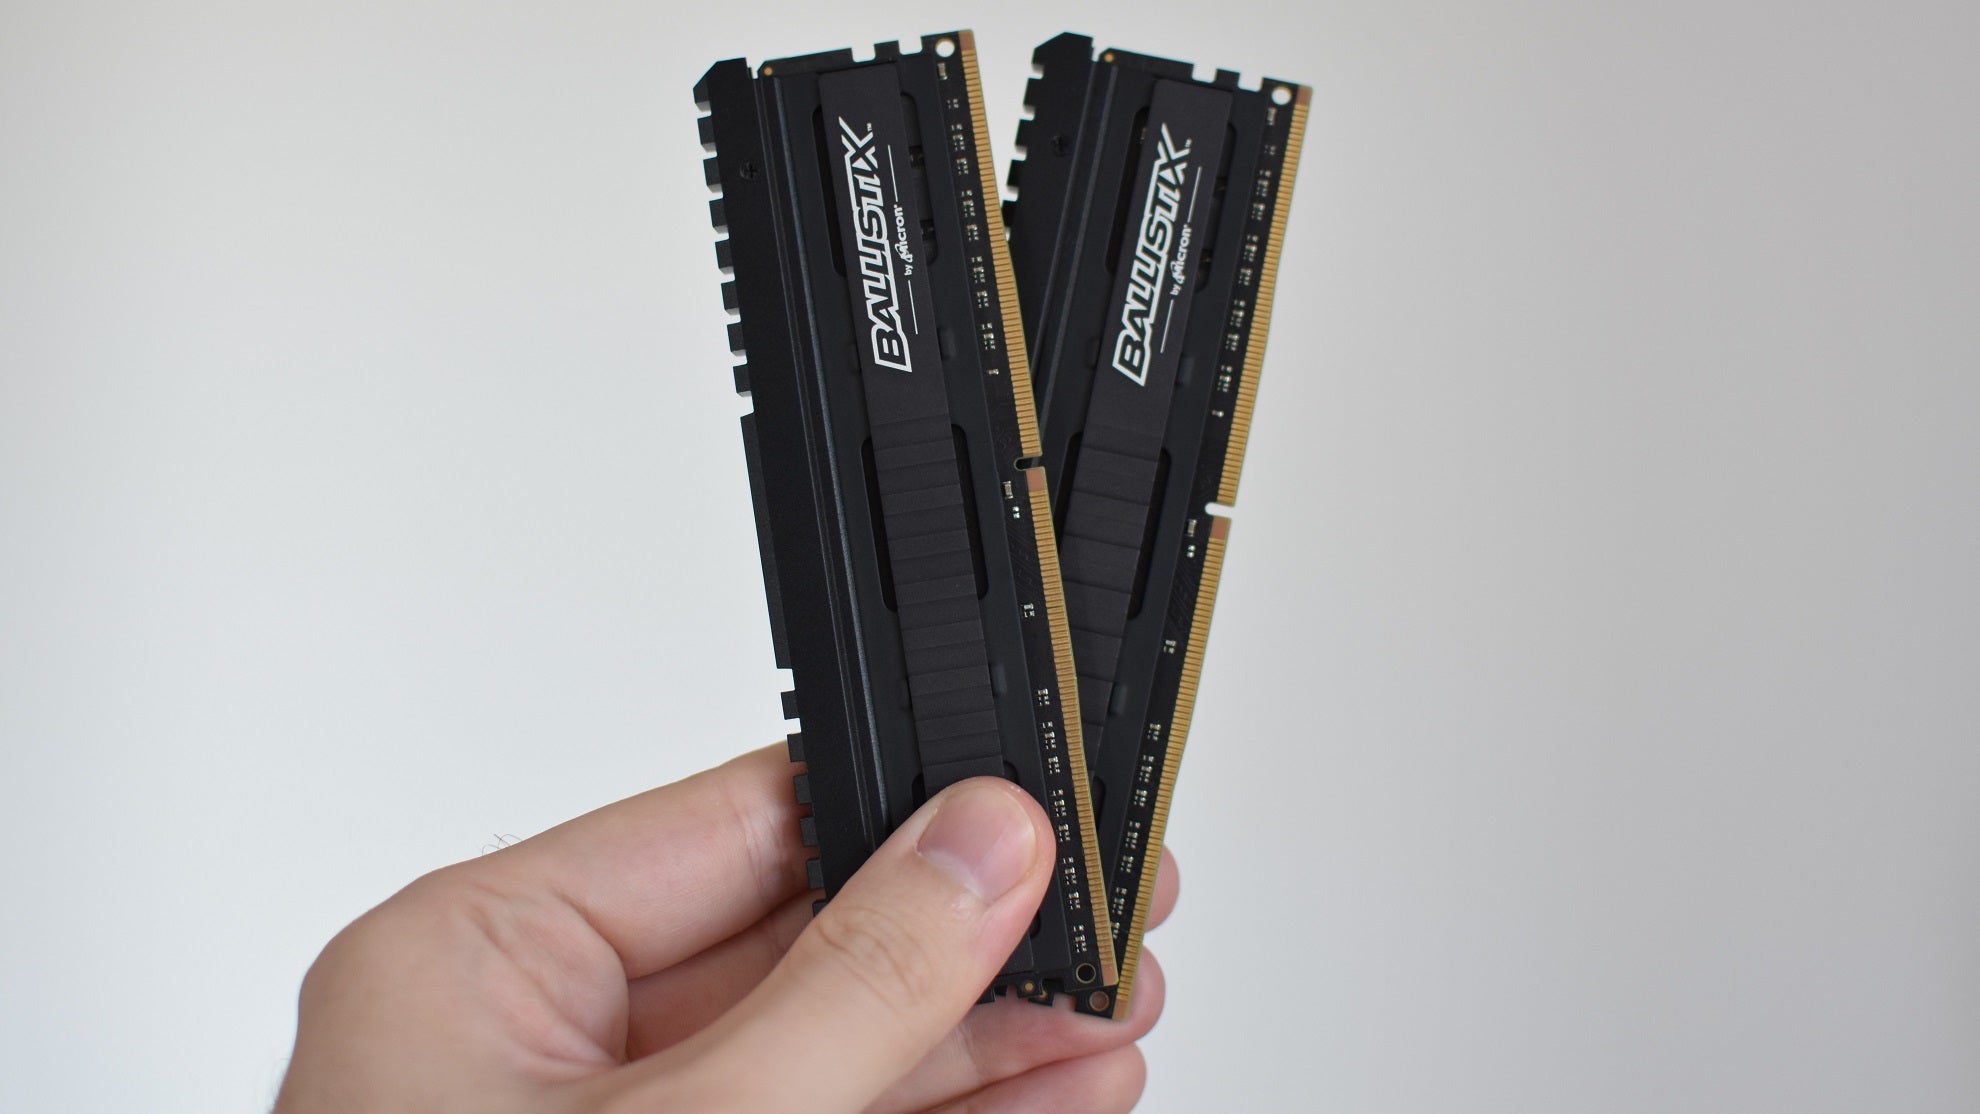
Right before obtaining into the arms-on stuff, let us start by making certain you have the right memory. At the time of crafting, that practically absolutely signifies DDR4 in conventional DIMM format: this is the RAM type supported by all recent Intel and AMD desktop processors, as perfectly as their suitable motherboards. DDR5, which claims major speed and capability upgrades, is just all over the corner, but you’ll require a subsequent-gen CPU and mobo to install DDR5 sticks. Nevertheless, the physical course of action of putting in DDR5 RAM ought to be more or considerably less equivalent to DDR4 sticks, so you can however comply with the ways down below if you’re upgrading to a whole new generation.

You can also get considerably scaled-down SO-DIMM RAM sticks, which are designed for laptops and mini-PCs like Intel NUCs. If you possess or are setting up a far more conventional Personal computer, even a single with a rather tiny scenario, full-measurement DIMM sticks are the way to go, but I’ve included a tutorial to setting up SO-DIMM memory even more down anyway. In any scenario, installing more quickly or better-potential can help get the most of out the very best CPUs or finest graphics playing cards, so it’s worth recognizing how.

How to set up RAM (the common DIMM sort)
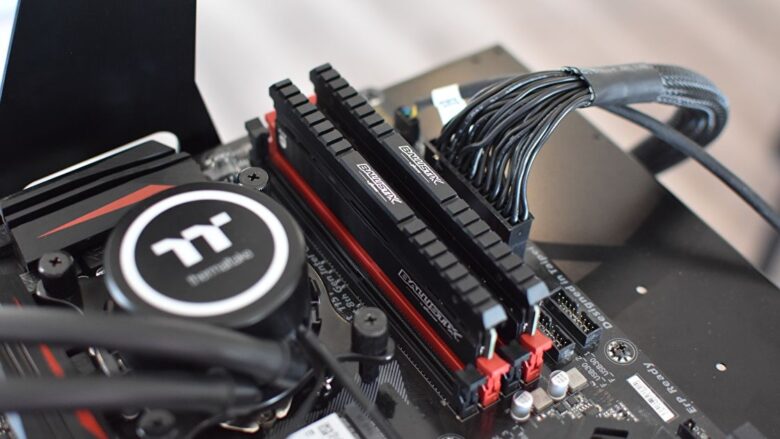
Move 1: Obtaining designed guaranteed your RAM sort is suitable with your motherboard, find the RAM slots on the motherboard – they are commonly future to the CPU socket. The selection of offered slots commonly varies involving two and eight, with a 4-slot set up the most typical. You can not just shove your RAM into any of them, although. Each slot will be numbered, and you will have to have to incorporate each individual adhere in numbered buy: the to start with stick goes into slot 1, the second into slot 2, and so on.


You can obtain the slot figures in your motherboard’s manual, and/or printed on the board itself glimpse for lettering that reads “DDR4_1”, “DDR4_2” or identical. Note that slots 1 and 2 will normally function as a pair, as will 3 and 4, however they are normally break up up so that the slots are numbered (counting left to correct) as both 4-2-3-1 or 1-3-2-4. And if all of that was as puzzling to browse as it was to create, just aim on discovering slot 1 for now. And slot 2, if you’re installing a dual-channel RAM kit.
After you’ve ID’d the slots, open up their plastic clasps by pushing them down and outwards.
Step 2: Line up the small notch on the underside of your RAM stick with the slot. DDR4, DDR5 and older DDR3 sticks have this notch in distinctive spots, so you have by some means finished up with the erroneous type…this is a superior way of figuring that out, I guess?
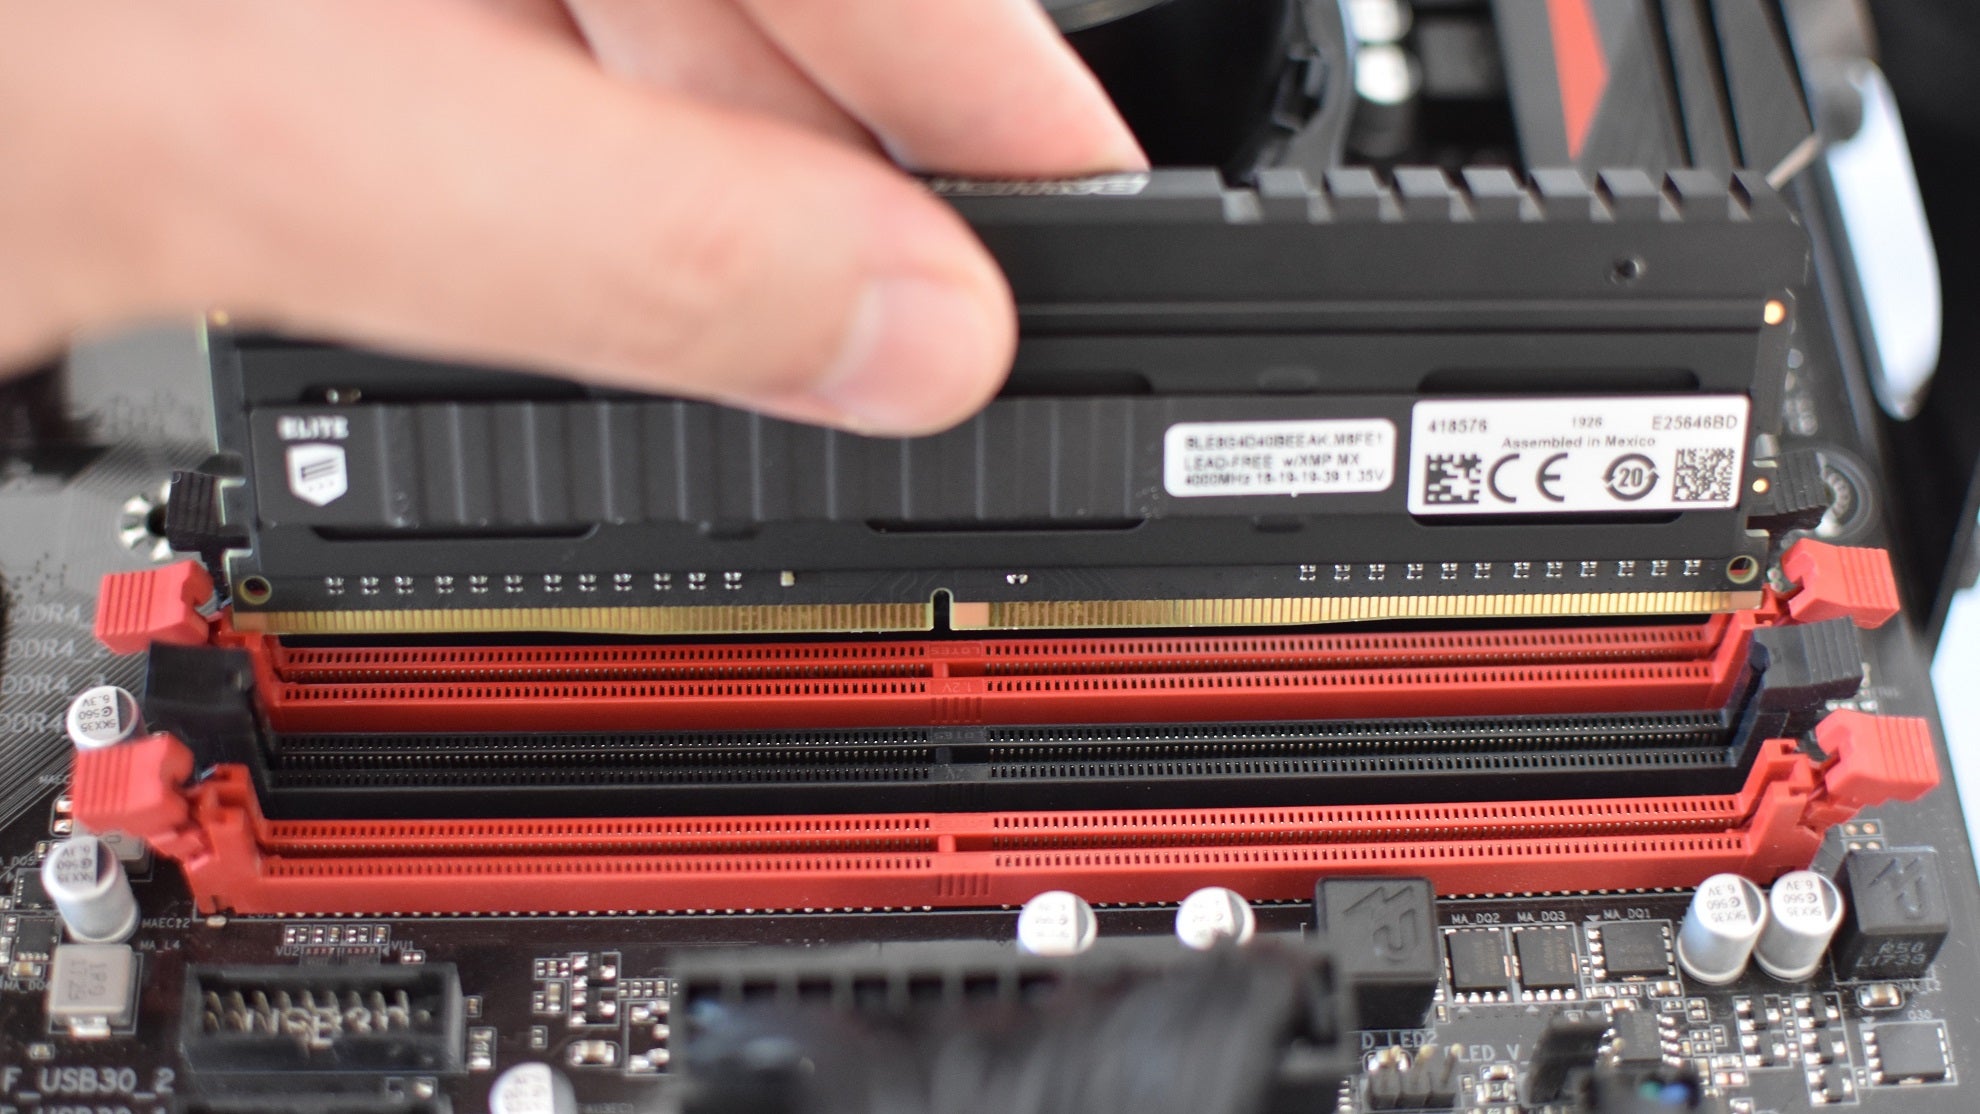
Stage 3: Slide the adhere downwards into the slot, and thrust firmly on it right up until you really feel is click on into area. The latches on the sides with snap back again into area as nicely, securing the stick. Repeat for any other sticks, again building guaranteed to observe the slot numbering scheme. 


If you at any time will need to get rid of your RAM, just press the clasps the release them again, then pull the adhere upwards out of the slot.

How to put in SO-DIMM RAM
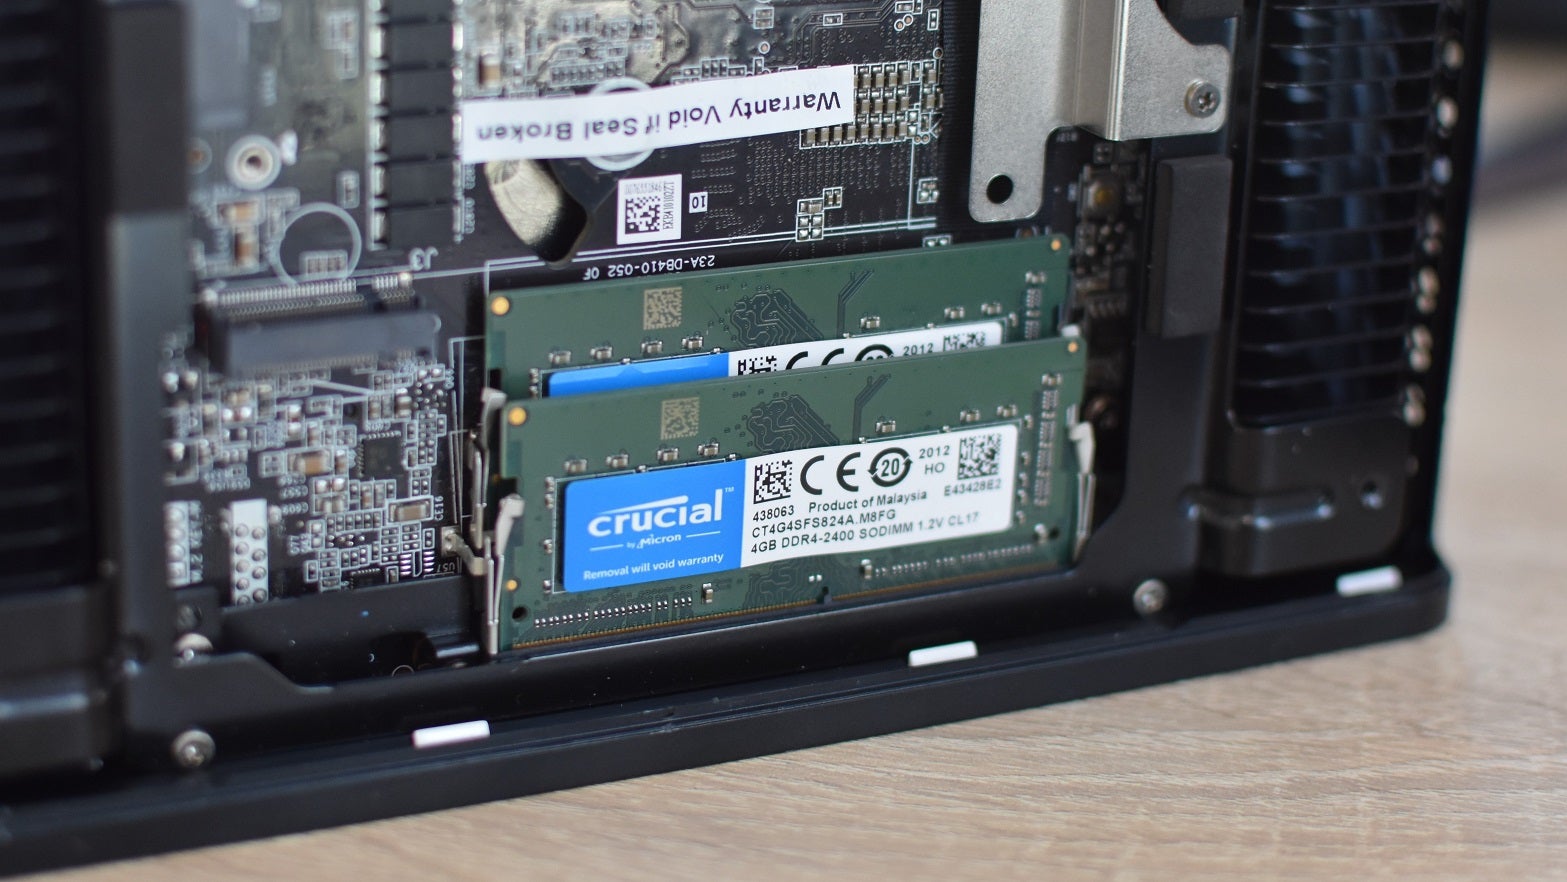
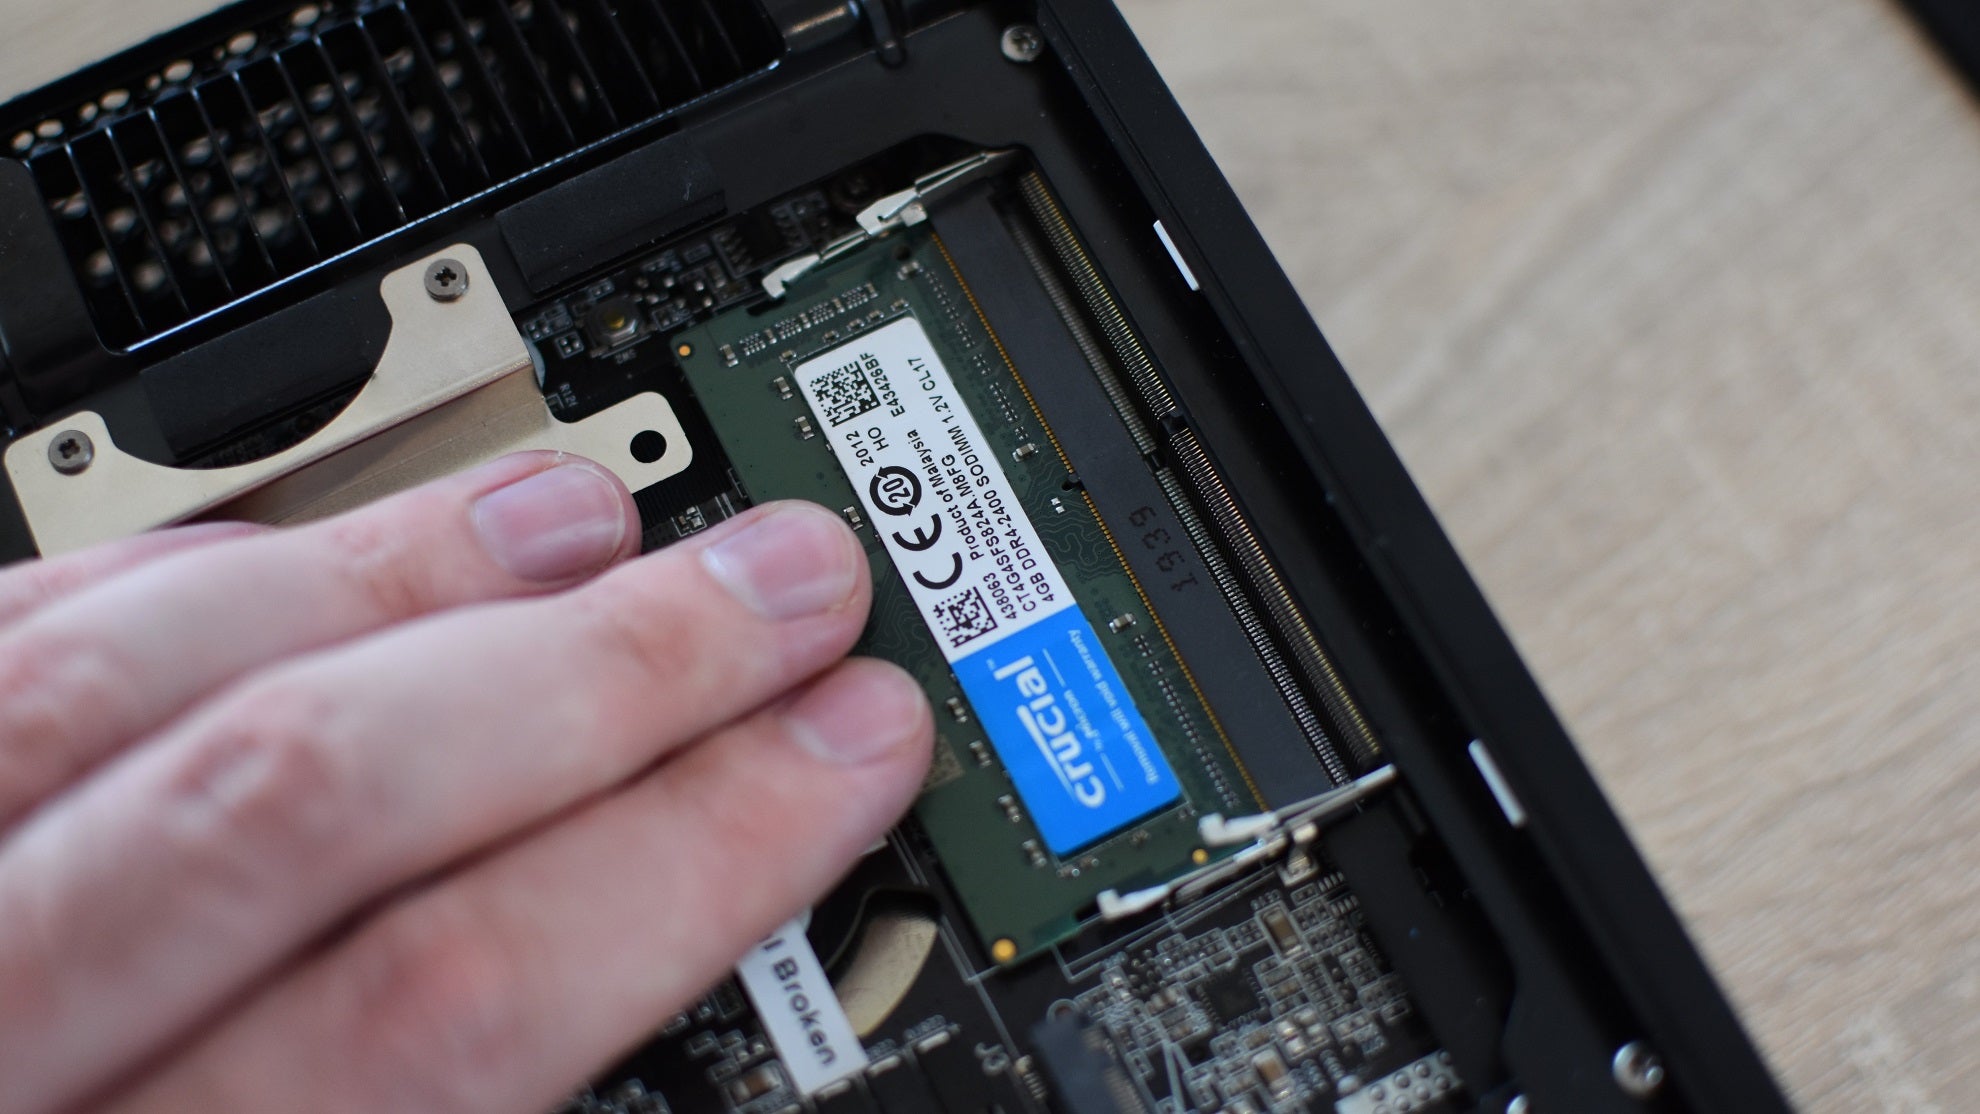
Action 1: Find the memory slots, which in contrast to normal DIMM slots are commonly oriented horizontally. If your Personal computer has additional than one particular memory slot, begin with the just one on the base. Grab a stick of SO-DIMM RAM and line up the notch on the underside so it will match in the slot.

Phase 2: Force the RAM into the slot right until the connectors are fully inside. It may stage outward at an uncomfortable-seeking angle, but never fear – it is not bending.

Move 3: Gently but firmly, press down on the RAM right until the metal arms either aspect of the slot click on into put. Repeat for any other sticks/slots, and if you at any time will need to take out a adhere, pull the steel arms absent until it springs free. You can then just pull the adhere out of the slot.
Originally posted 2021-11-11 13:21:56.